
How To Make Muffins and Other Quick Breads
A quick bread recipe is the closest you can get to instant gratification in baking. Since muffins rely on a chemical reaction to create a rise, there isn’t time spent waiting as you do with yeast. They truly are a “quick” bread. Get it?
The simplicity of a muffin makes them seem almost boring. The history of a muffin (and quick bread) alone is fascinating (and surprising). This homey baked good is the unsung hero of good breakfasts everywhere.
Disclaimer: This page contains affiliate links. If you choose to make a purchase after clicking a link, I may receive compensation at no additional cost to you. Thank you for your support.
What Is a Quick Bread?
Muffins, biscuits, popovers, crackers, tea loaves, pancakes, and waffles — any bread that’s made without yeast is a quick bread. These simple and fast-to-make breads require no experience on the part of the baker for perfect results, time after time.
Farm Journal’s Homemade Breads (1985), Page 35.
Short answer: A quick bread is a handful of deliciousness. They come in all kinds of flavors, from Cinnamon Bread Loaves to Banana Bread, and everything in between. Longer answer:
One method of classifying quick breads is by the proportion of liquid to flour.
The Family Home Cookbook (1973), Page 54.
- Thin batters (popovers, timbales, griddlecakes): usually 1 1/2 to 2 cups liquid to 2 cups flour.
- Stiff batters (muffins, fruit and nut loaves): usually 1 cup liquid to 2 cups flour.
- Soft doughs (doughnuts, baking powder biscuits): usually 3/4 cup liquid to 2 cups flour.
Now that we have that all figured out, let’s take a look at the things you need to make these breakfast superstars.
What You Need to Make Quick Breads
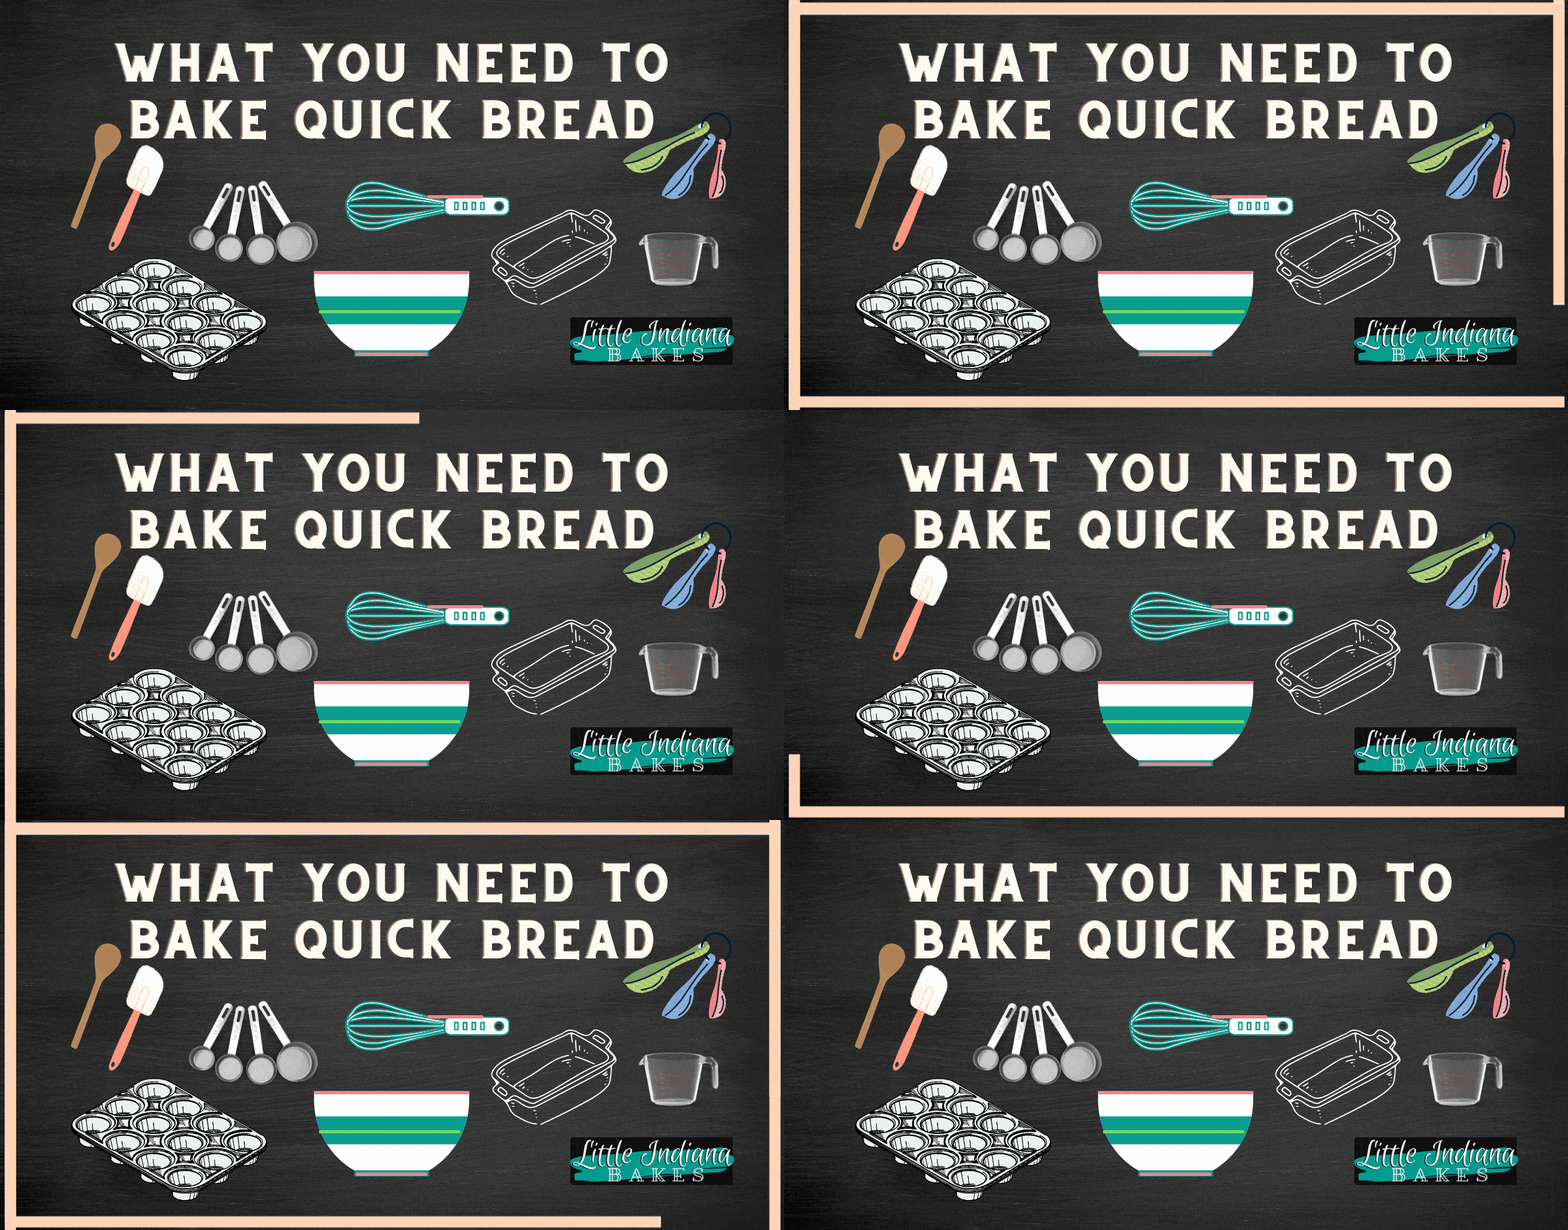
Grab a bowl, a spoon, and a whisk to break up any lumpy flour or cocoa (and to better combine the wet ingredients), and that’s as complicated as it gets when it comes to making quick breads. They do not require anything fancy to begin. You need a muffin tin or a loaf pan, but you can use mini or regular (standard) tins interchangeably, with reductions in overall baking time. Mini muffins usually take around 10 minutes to bake. You’ll stick with the muffin recipe’s baking temperature.
This is one baked item that does not benefit from the use of an electric mixer. The only exception is my Peanut Butter Streusel-Topped Coffee Cake recipe. A hand mixer or a stand mixer makes it super easy to overmix a muffin. Overmixing is a muffin’s worst nightmare.



Stick to the basics this time around for muffins that won’t fail you. Check that your leavener, the baking powder or baking soda (or bi-carb as it’s termed in some parts of the world) called for in the recipe isn’t old or expired. Baking powder and baking soda can go bad? Yes, they can. Old leaveners make for less than great baked goods. These ingredients have an important job to do.
Double-acting baking powder, rather than slower-acting yeast, is most often the leavening used in quick breads. It consists of an acid, such as cream or tartar, and an alkali, such as baking soda, which react with one another when liquid is added ,giving off a harmless gas (carbon dioxide).
In batter or dough, this gas forms tiny bubbles that expand quickly, creating the structure of the quick bread. This happens twice, once when mixed with wet ingredients and again during baking.
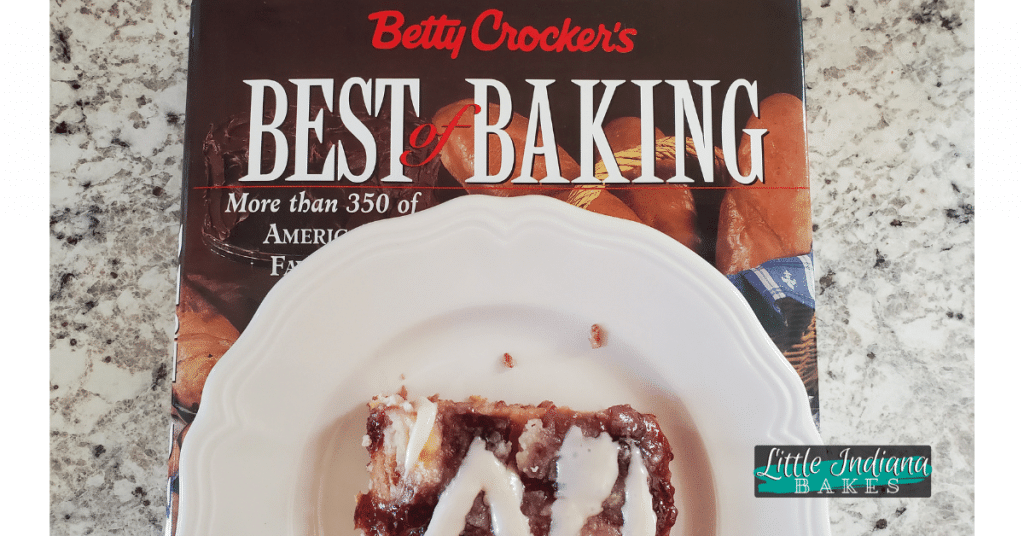
Betty Crocker’s Best of Baking (1997), Page 50.

See? That’s important stuff right there. If your leavener goes all Blanche Devereaux on you when the subject of age comes up, test your leavener for potency before you start baking. Here’s how:
To test baking powder’s effectiveness: Mix 1 teaspoon (5 grams) baking powder with 1/2 cup (120 ml) hot water and the mixture should bubble immediately. Store in a cool dry place and it should be replaced every 6-12 months.
To test baking soda’s effectiveness: Mix 1/4 teaspoon baking soda with 2 teaspoons of vinegar and the mixture should bubble immediately.
Baking Powder and Baking Soda (Bicarbonate), Joy of Baking, Accessed August 24, 2021.
If your baking soda has been sitting around, save it for a different use. Open a new box for baking. I write the date on the fresh box with a black Sharpie marker, so I know if it’s been too long. I save the older stuff for baking soda baths for poison ivy, flu achiness, and sunburn.


The Steps to Make Muffins
Hot muffins can turn the simplest meal into a delight, for there is something about a muffin, oozing with melting butter, that can perk up the dullest appetite and please almost very palate.
Betty Furness, The Betty Furness Westinghouse Cook Book (1954), Page 305.
If you have time to bring your ingredients to room temperature, then do so. Room-temperature ingredients help prevent the milk from curdling. Everything generally turns out just fine if you don’t bring the ingredients to room temperature (I know because I do that all the time).
- Heat the oven.
- Grease the tin or add liners.
- Combine the ingredients, typically adding wet ingredients to dry ingredients.
- Fill muffin tins anywhere from 1/2 to 2/3 full (follow your recipe or your preference).
- Bake muffins.
- Cool muffins for 5-10 minutes, or as your recipe states.
- Remove from pan.
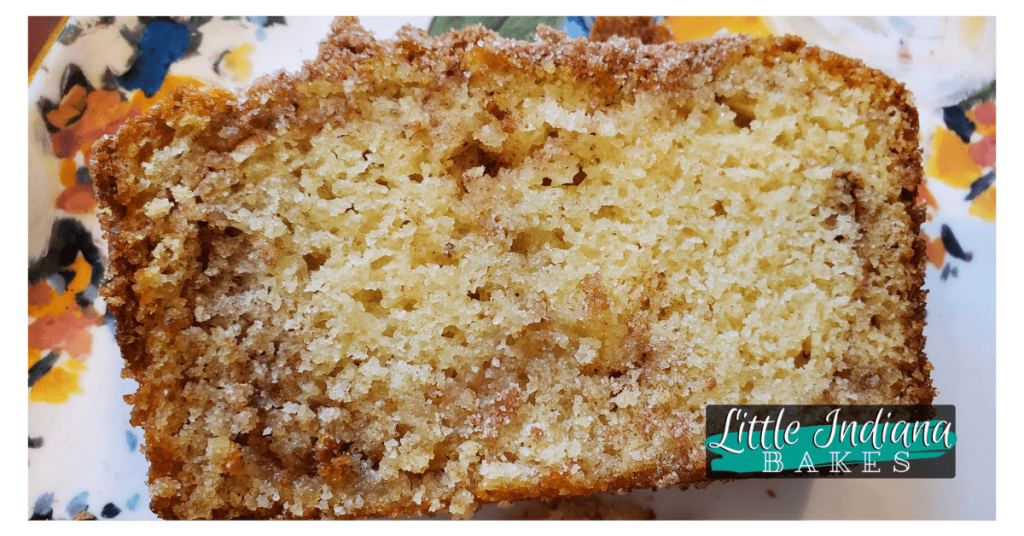
The Steps to Make Other Quick Breads
- Heat the oven.
- Grease the loaf pan with Baker’s Joy, Pam for Baking with Flour, or your favorite method.
- Combine the ingredients, usually by adding the wet ingredients to the dry ingredients.
- Fill the greased loaf pan with the full amount of batter, smoothing the batter to the edges (without squashing it).
- Bake the loaf.
- Cool the loaf according to the recipe.
- Remove from the pan.
Heat the Oven
The fine crumb or flakey, layered texture of cookies, cakes and pie crusts comes the expansion of trapped air and/or moisture in these batters and doughs (along with chemical leaveners such as baking soda or powder or yeast). And that expansion is produced by heat.
Alice Medrich, Why You Must Preheat the Oven (Even If You’re in a Rush), Food52, March 7, 2016.
Many batters and doughs require a push — a good hit of heat at the beginning — for optimal rise, texture, and browning (and remember browning is flavor).

Recipes that include the oven temperature near the end of the recipe are baffling. It’s too important to be shoved in way at the bottom of a recipe! After thoroughly reading a recipe to make sure it doesn’t hold any surprises (no one likes realizing something must be chilled a few hours or, worse, overnight, while in the middle of baking), heating the empty oven should be the first proactive step you take.
You don’t want weirdly baked muffins or quick breads, which is exactly what happens when you don’t preheat the oven. Patience you must have, my baking padawan. I know, you’re right: Heating the oven doesn’t matter so much if you’re popping in a casserole. It does matter to quick breads.
Fire up the oven so it has plenty of time to warm up. Once it’s hit the temp you need, don’t shove your muffin tin in the oven. Cold spots happen. Give it ten minutes longer so the whole oven is full of hot air (I feel like there’s a good joke here), and then you’re ready to go. Do I always do this? Nope. At least, not on purpose. By the time I’m done mixing and measuring and all of that, it seems pretty right on anyway.
Side note: If you want to bake in the morning, but time is tight, is there someone in the house who wakes up before you roll out of bed?
A Word on Convection Ovens
Okay, I admit I use the basic setting on my double ovens. I haven’t used the convection oven setting. I haven’t taken the time to learn how to use the thing. If you have a convection oven, different rules apply.
If you bake in a convection oven, note that quick breads. . . .are apt to bake more quickly and dry out, so reduce the oven temperature by 25* to 50*F and reduce baking times by 10-15 minutes. Consult the manufacturer’s literature accompanying your oven for precise directions.
Beth Hensperger, The Baking Bible (1999), Page 30.
Don’t have the manual? Find it online. All you need is the make and model of your oven, and away you go!

Preparing the Muffin Tin or Loaf Pan
If you’re making a quick bread loaf, grease your pan, set it aside, and continue on with the recipe. Should you spray or should you line your muffin tin? Quick heads-up: muffin liners and cupcake wrappers are the same thing. Some muffin recipes can be ambiguous and vague. How do you know how to prepare a muffin tin if you’ve never made muffins or if you’ve never made a particular recipe?
We’ve found that muffins baked in paper liners usually bake up shorter and are paler in color than those baked in a greased muffin tin.
America’s Test Kitchen, The New Family Cookbook, Page 573.
So although we vote for greasing the tin whenever possible, some recipes . . . . require paper liners to keep a sticky filling in the muffin instead of stuck to the pan.
In general, stick to using Baker’s Joy or Pam for Baking with Flour when you prep the muffin pan. Note: I do not get that ugly dark film on my baking tin when using Baker’s Joy.
Some cookbooks call for cupcake wrappers to line the muffin tin, but I tend to ignore it. If you have a filled muffin, or something extra gooey, then opt for a liner. Otherwise, use grease. Shake the can and spray the tin over the kitchen sink or open dishwasher to help contain the slick overspray.
Combining Muffin and Quick Bread Ingredients
Did you know there are different ways to mix a quick bread, such as muffins or loaves? These three mixing methods are:
- Muffin method
- Biscuit method
- Creaming method
You are likely familiar with the creaming method: It’s what you use to bake the typical cake or cookies. Blend together the butter and sugar, then the egg(s) and any flavorings (like vanilla, lemon, or almond extract), and then the dry ingredients.
Muffin Method
When you make a muffin, you stir the dry ingredients and, in a separate bowl, you stir the wet ingredients. Then you add wet to dry and bam! The batter is done. Notice I said stir, not beat.
Biscuit Method
Quick breads like scones or biscuits require you to combine the dry ingredients first. Then, you mix in the fat (usually butter) into the dry ingredients, and add in the wet ingredients like milk or buttermilk and eggs.
Creaming Method
In this case, the dry ingredients aren’t added all at once, but alternated with the milk, buttermilk, or whatever the chief ingredient is in the recipe. You begin and end the wet and dry additions with the dry ingredients.
Your recipe has a reason for using whatever method it uses, though if you are making muffins, you’ll likely follow the muffin method. It’s not called a muffin method without a reason.
No matter what method your recipe uses, once you add in the flour, tread softly. The hardest part of making muffins and loaves is to know when to call it quits with the mixing.
We like to mix things to death. It is almost like we think mixing and mixing makes them better. Spoiler alert: It doesn’t. Once you get to the point where you see a couple streaks of flour, incorporate those last little bits, AND STOP MIXING.

A Note on Baking Powder and Baking Soda
I thought you were supposed to shove your muffins or quick breads in the oven IMMEDIATELY after mixing in the wet and dry ingredients together. I thought that any delay would mean a less-than-attractive loaf or muffins. I thought valuable height would be lost. I have since learned that that was all wrong.
Muffins that include baking powder (NOT baking soda) benefit from a teensy tiny bit of waiting. Seriously, it’s a small bit of waiting compared to the hours you have to wait for yeasted items. Ten minutes. That’s it. You can handle 10 minutes, right?
Before we get into things, let’s take a look at baking powder:
You can buy single-acting or double-acting baking powder. Single-acting baking powder makes carbon dioxide as soon as the recipe is mixed. Double-acting powder produces additional bubbles as the recipe is heated in the oven. Double-acting powder usually contains calcium acid phosphate, which releases a small amount of carbon dioxide when mixed with water and baking soda, but much more carbon dioxide when the recipe is heated.
You use the same amount of single-acting and double-acting baking powder in a recipe. The only difference is when the bubbles are produced. The double-acting powder is more common and is useful for recipes that might not get cooked right away, such as cookie dough.
Anne Marie Helmenstine, Ph.D., How Does Baking Powder Work in Cooking?, ThoughtCo, Updated August 19, 2019.
Baking powder, unlike baking soda, packs a one-two punch of bubble-boosting power. The first “punch” occurs after the wet and dry ingredients are combined, as you read above. If you give the batter just 10 minutes, you give the bubbles time to form and work their magic. Then, when you put the pan or loaf pan in the oven, the heat gets to work and does its thing. The result? Excellent quick breads.
Now, this approach does NOT work for baking soda. Since baking soda only has that one chemical reaction from the combination of wet and dry ingredients, any delay in baking those kinds of non-yeasted breads and muffins will fall flat. And, no, adding more baking soda won’t fix that. Too much baking soda results in a terrible, bitter flavor.

Have Add-Ins? Do This (Instead of Blindly Following a Recipe)
Here’s a little trick I’ve figured out over the years. When it comes to adding in something extra, like chocolate chips, coconut, or nuts, many recipes lay out the steps so that you mix the wet ingredients in, add the dry ingredients, and then add the mix-in as a final step before placing the batter into the muffin tin.
Don’t do that.
It’s so easy to overmix muffin batter. Add those extra bits with the final list of dry ingredients. It keeps you from overmixing and, as a bonus, combining heavier items, like chocolate chips, with flour before baking helps prevent sinking. They won’t plummet to the bottom.
The Culinary Arts Institute Encyclopedic Cookbook agrees:
To achieve good results, overmixing must be avoided unless the recipe calls for an unusually large amount of shortening. Stir the liquid ingredients just enough to damped all the flour, leaving the batter rough and lumpy. Twelve to fifteen stirs are usually sufficient.
Place batter in the well-greased pans with as little further mixing as possible. If nuts, dates, or other extra ingredients are added, mix them with the flour before adding liquids, to avoid necessity for any extra stirring.
Culinary Arts Insititute Encyclopedic Cookbook (1973). Edited by Ruth Berolzheimer, Page 172.
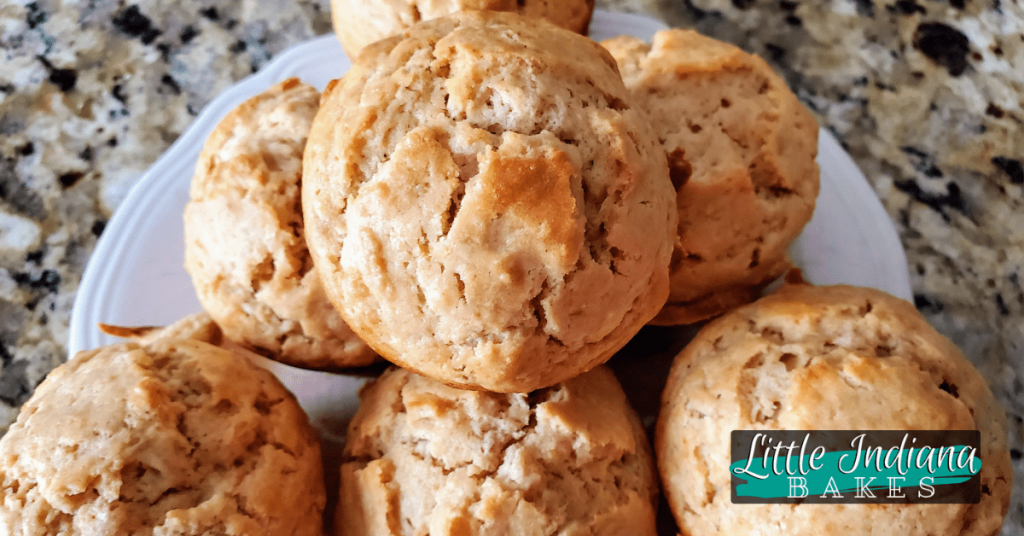
Remember: Blend these ingredients; don’t mix them to death. Once you get to the point where you see a few streaks of flour, you know you are almost done. Resist the urge to keep stirring past that point. The batter is supposed to be lumpy.
Putting Batter into the Pan
Quick breads like their space. While some muffin recipes do require you to fill the muffin cups to the top, that isn’t the norm. The general rule is that muffin tins shouldn’t be filled more than 2/3 cup so the muffin batter has room to climb during the chemical reaction, but I tend to fill my muffin cups 3/4 full with good results.
The baker’s hack below, however, suggests it isn’t about the amount you fill in the cups that lets you achieve a high-rising muffin à la your favorite bakery:
I learned this clever practice when I worked at Levain Bakery in New York City. Instead of filling every cavity, like most recipes tell you to, use every other cavity. At the bakery, we’d generously spray the pans with Pam, add fat plops of batter, and be rewarded with super-domed muffins. Kind of like an Alice in Wonderland toadstool, only made of tender cake and studded with jammy blueberries.
Justine Lee, A Bakery Hack for Sky-High Muffins, Food52, August 26, 2021.
I tested this method one week ago. I skipped muffin cups in one tin as Justine Lee suggested above, and I filled the other tin as normal. I baked them both at the same time in my double oven. The result? The muffin tin with less in it rose slightly higher than those where I filled the tin of each cup and its neighbor.
What happens if you put too much batter in your muffin cups? A mess. You could end up with batter burned to your pan and maybe even dripping into your oven for more burnination. It hasn’t happened to me, and I fill those babies up. But it’s worth noting.

Baking Quick Breads
If you’re baking a new recipe and you aren’t sure about the times, open the oven and take a look 10 minutes before the low end of the time range on a quick bread loaf or muffins. If they look too brown, but are obviously not yet done, tent a bit of foil over the top.
How do you know your muffins or other quick bread are fully baked?
Use a toothpick, jab it into the center, and if it comes out with minimal dry crumbs (not soggy bits) or no crumbs at all, it’s done. Your recipe will tell you the preferred method of testing and how the item will behave.
Like I tell my sons:
- It should look done.
- It should look like something you want to eat.
- The color will be golden, and when you press lightly on the middle of a muffin, it will bounce back.
- I’d use the toothpick test until you are comfortable making that call.
When your muffins are baked, it’s tempting to leave them hanging out together in the muffin tin like a pack of teenagers chillin’ at the mall. But that warmth from the oven tin is going to keep baking your muffins, taking them from perfectly done to over-baked faster than you’d think (or like).
After letting your muffins cool according to your recipe (typically 10 minutes), get them out of there. Flip muffins out of the pan by turning the pan upside down onto the cooling rack. It’s faster than turning them out individually, though I personally grab them and pop them out one at a time.
I hate flipping them out and trying to contain the muffin explosion, but other people do it all the time. I feel like I need extra arms or something to keep them corralled. Warm from the oven muffins are amazing, but loaf breads are a different animal.
Cool loaf breads before you slice them. Many of them are fragile when warm and will crumble unless you wait until they cool. Individual recipes specify when and how long to cool in the pan and on a rack. Some breads — generally the moist, fruity ones — are actually better if they have a day to mature. They slice better and they taste better.
Woman’s Day Book of Baking (1977), Page 110.
In our house, we wait for a few minutes so the slices are still warm, but not hot. I’d be surprised if we waited longer than 10 minutes. They may come out slightly messier and not so clean, but we aren’t serving the Queen, and we are all okay with that.
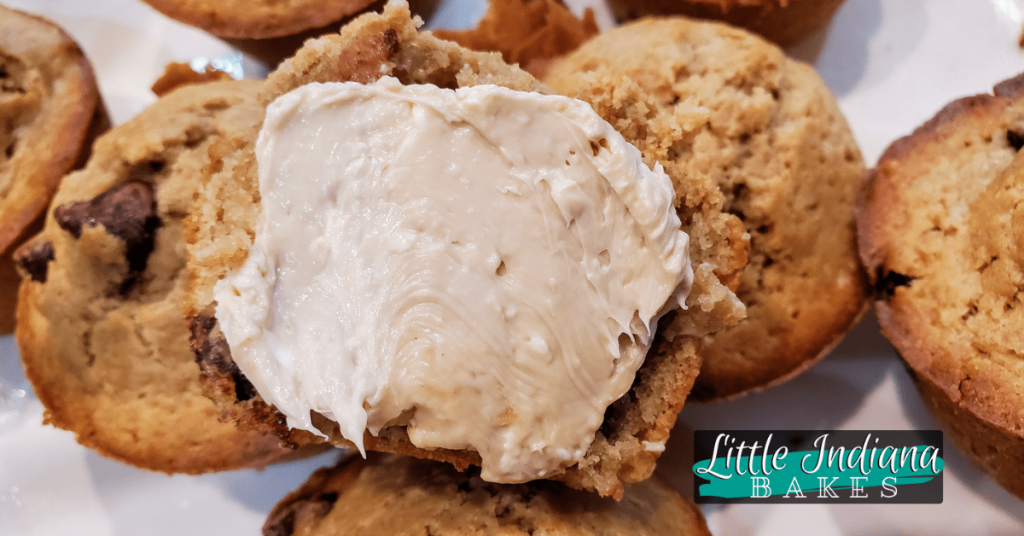
How To Store Muffins (and Quick Breads)
First things first: If you mean “store muffins or quick breads” as in “saving the batter” kind of storing because something came up, you can do that. Just remember it works best if you use double-acting baking powder. Legit sources disagree as to whether or not your baked goods won’t turn out as fluffy or nice as they could be if you hold them in the fridge. Some say an overnight rest makes them better. Others say to never do such a thing.
Either way, yes, you can store your batter overnight. While there are muffin recipes out there boasting of a long storage, it’s not something I’m familiar with. Stick to a night in the fridge if you must, or do what I do: premeasure your ingredients the night before.
If you know your morning will be especially frenzied, whip up the dry ingredients and the liquid ingredients, but don’t mix them together. Keep the dry ingredients on your counter and store the mixed wet ingredients together in the fridge. Use a whisk to fluff up the dry ingredients and to give the wet ingredients a little stir before you combine them.
For best results, bring the wet ingredients to room temperature before you begin the next morning (or, seriously, leave them on the counter for about 5 minutes). It’s not a deal-breaker if you don’t, but you know ingredients combine best when at room temp.
Cold batter takes longer to bake, so you’ll want to allow for that if you skip the “bring to room temperature” part. I set out the muffin tin and the baking spray too for extra super speedy muffin baking. Just make sure to alert the members of your household, or someone may put them all away again to be nice. It happens.
How to Effectively Store Muffins Step-by-Step
Vanessa Greaves, Keep Muffins Crisp With This Genius Move, AllRecipes, Accessed August 25, 2021.
- Cool muffins completely before storing.
- Line an airtight container with paper towels and place the muffins on top in a single layer. And don’t forget to add a few saltines to absorb moisture!
- Place paper towels above the muffins to soak up every bit of moisture. Seal with an airtight lid.
- If the paper towels become damp, replace them every few days. Muffins will last up to four days stored this way.
I dislike single-use products, so I skip the whole paper towel trick. With two growing boys, muffins don’t last beyond two days in our home anyway.
- This is what I sometimes do: Once completely cooled, opt for a plastic reusable container. If you wrap up your bread or shove in your muffins too soon, they will become oddly wet and sticky from condensation. Nobody wants that. Cool them until you don’t feel any warmth. Then, keep your bread covered.
- This is what I usually do: I don’t always cover muffins the first day. They are fine. I throw a clean kitchen towel over them and leave them be.
After a bit of research online, I saw that I’m not alone:
Up to Two Days: For the first two days, muffins and quick breads are best kept on the countertop, covered loosely by a kitchen towel.
Don’t worry about them drying out too much. Remember, muffins and quick breads have plenty of fat, whether it’s oil, shortening, or melted butter, which will ensure that they stay moist even when ordinary yeast breads would already have gotten stale. Yes, they’ll be losing some moisture, but not enough to worry about.
Danilo Alfaro, How to Store Muffins and Quick Breads, The Spruce Eats, April 13, 2020.
While baked goods vary in terms of how long they last, count on no more than three days before your quick bread changes in texture and flavor. Anything after that point will be a pleasant surprise. We eat them well before that time. If you have a hard time getting through a full loaf, share with a neighbor, make smaller loaves the next time (and freeze the rest), or freeze the leftovers.
Don’t use the refrigerator to store baked muffins or loaves. Quick breads typically suffer from the cold and dry out faster. Room temperature storage is best. Or, learn how to freeze your quick breads below.
Can You Freeze Muffins and Other Quick Breads?
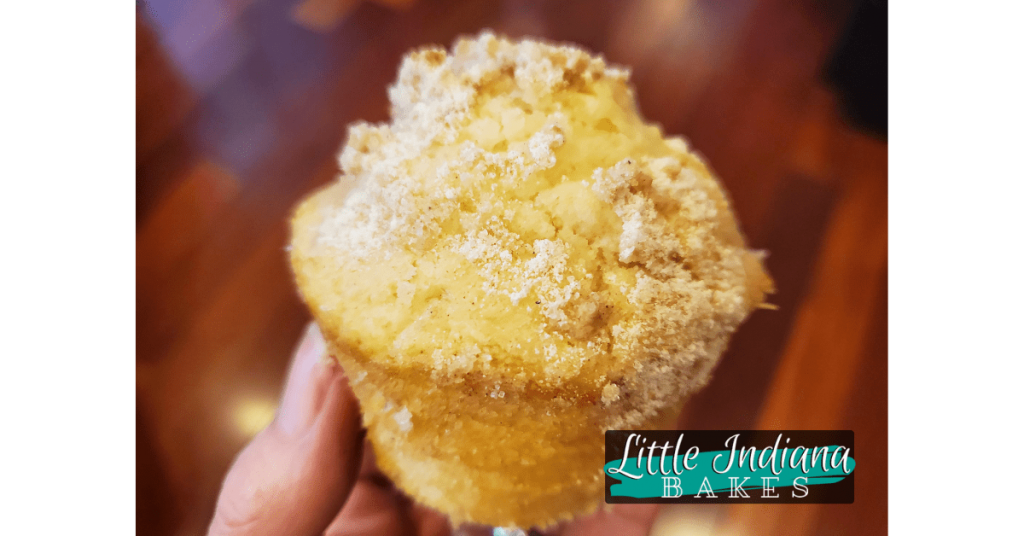
You can freeze quick breads with abandon. I don’t typically freeze baked goods, but a good friend always has frozen quick breads and muffins waiting in her freezer. There’s nothing too complicated involved in freezing muffins and quick bread loaves, so bonus points for that.
Muffins can also be frozen before baking or after. To freeze before baking, simply scoop the batter into paper-lined muffin pans and freeze. Transfer the frozen muffins to a plastic freezer bag with a note to remind you of the oven temperature and baking time called for in the recipe.
To bake, plop the still-frozen muffins into a muffin pan and bake for about 5 minutes longer than specified in the recipe to compensate for the cold batter.
Irma S. Rombauer, Marion Rombauer Becker, and Ethan Becker, Joy of Cooking (1997), Page 782.
Always write down the name of the item, any instructions, and the date. Trust me, you won’t be able to remember. I learned that lesson when freezing homemade chicken stock for the first time. Jot it down now to save yourself an undesirable mystery later.
FAQ
Surprisingly easy, right? If you have a muffin recipe you made into a fantastic loaf or a wonderful loaf you made into even better muffins, I’d love to hear about it (and try it for myself). Please share with the rest of us!
Make Every Morning Special
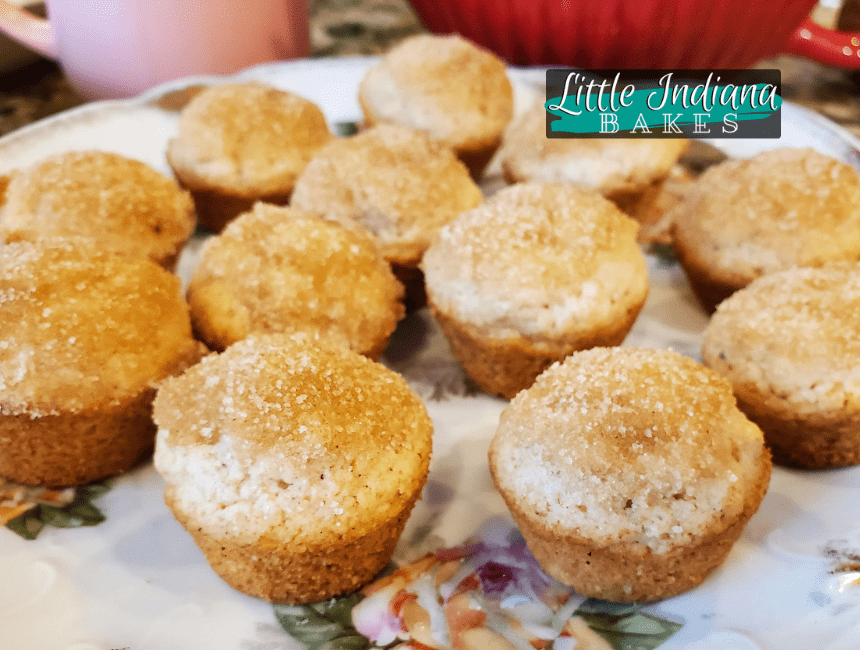
Cereal is so boring. Quick breads are so versatile. You can make a different kind of muffin or loaf every week and never run out of new recipes to try. If you’ve learned anything from all of these words, I hope it’s this: Quick breads are a great way to get comfy in the kitchen. You can tweak these things like nobody’s business and learn a lot about baking in the process.


